Product Design
Steps and Processes
Research various works of James Turrell and see what could be applicable to product design
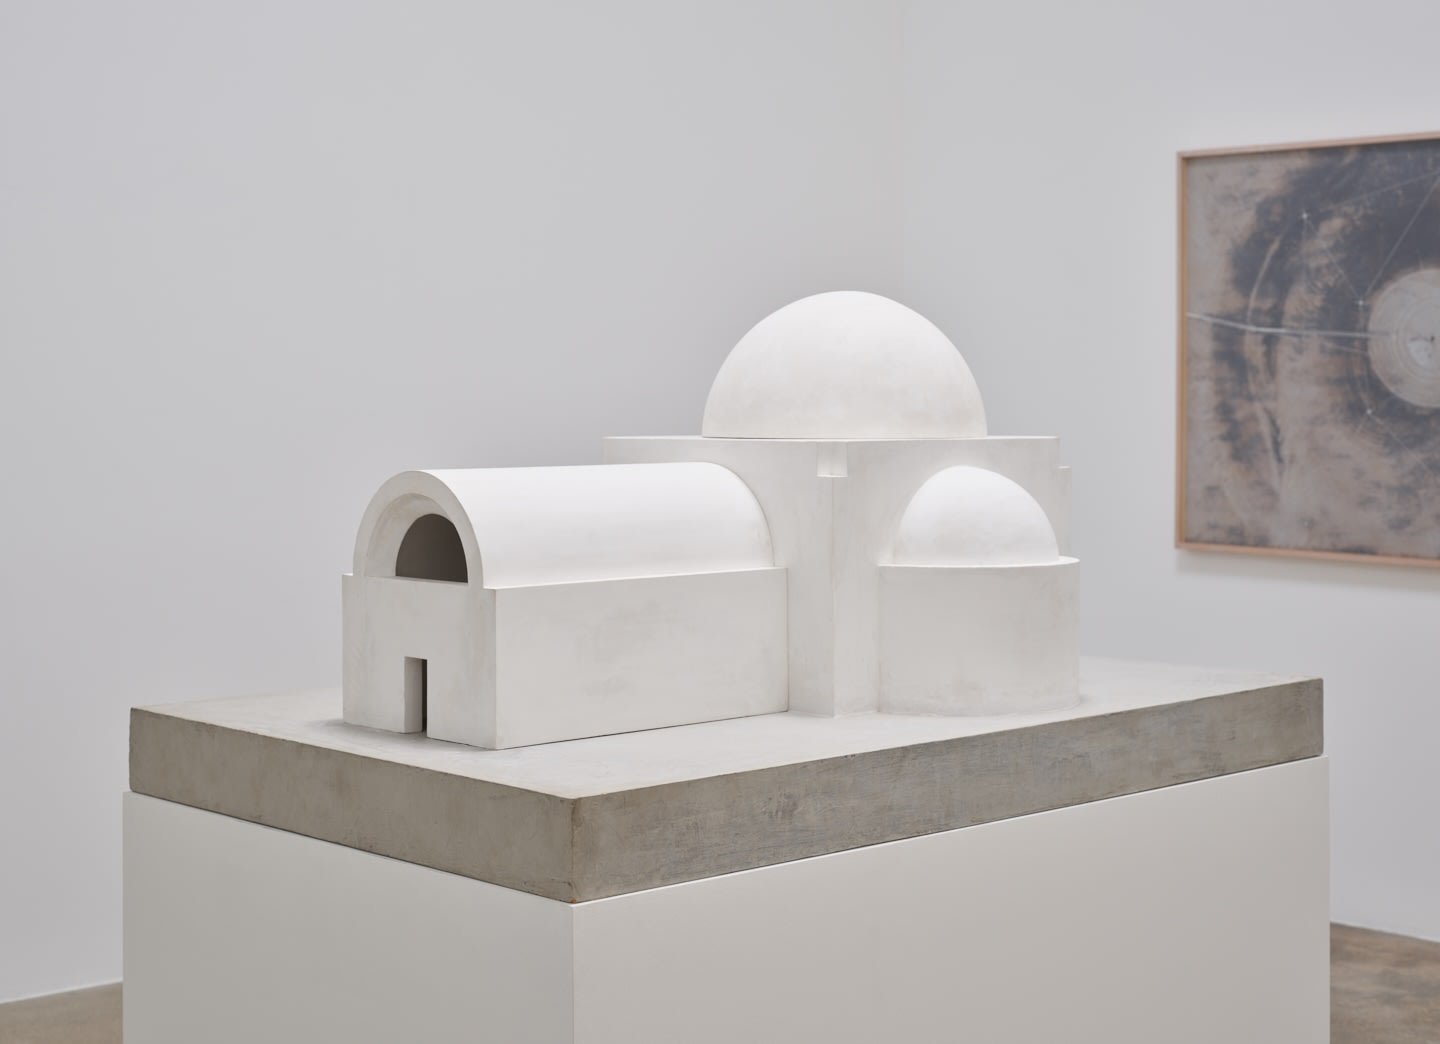
Inspect Basilica for Santorini and see how that can be reimagined as
a product
Proceed to Trial and Error through various compositions before settling on Hammer design
Brainstorming
In Rhino, begin with creating the head of the hammer by taking
the main body of Basilica
Next, use the rounded tops to create the handle of the hammer
Scale down the hammer’s head to create the eye and bottom
handle portion
Create simple box design for packaging
Lay out floor and backdrop for rendering image
Add small pedestal for hammer grandiose
Rhino
Blender was utilized to apply textures and lighting for final rendered image
start by creating an almost mythological look for hammer
Use the set backdrop and floor to create a dark room for product setup and environment
Move camera around to get good angle shot of Product, packaging, and setting
Blender
Create simple logo and box cover design for packaging
Take rendered image from blender and apply logo along with product name and company slogan as part of branding
Adobe Illustrator
Take rhino file of hammer and split in half
Lay flat for easier printing
Printed at campus print lab(print is not to scale)
Once printed, it was simply glued together and painted
3D Print/Fabrication
Technical Drawing
This product design assignment served as a major redemption episode for Devin because the previous semester when he first took 3D, his product and rendered image were poorly done. Now that he knows what to expect and has better knowledge of how to use rhino and blender, he took this opportunity to create something worth showcasing. He even decided to 3D print as his fabricated product the previous semester was very poorly done. In the end, Devin was extremely happy with how his product and fabricated item came out and would gladly create more products such as these for the future.


